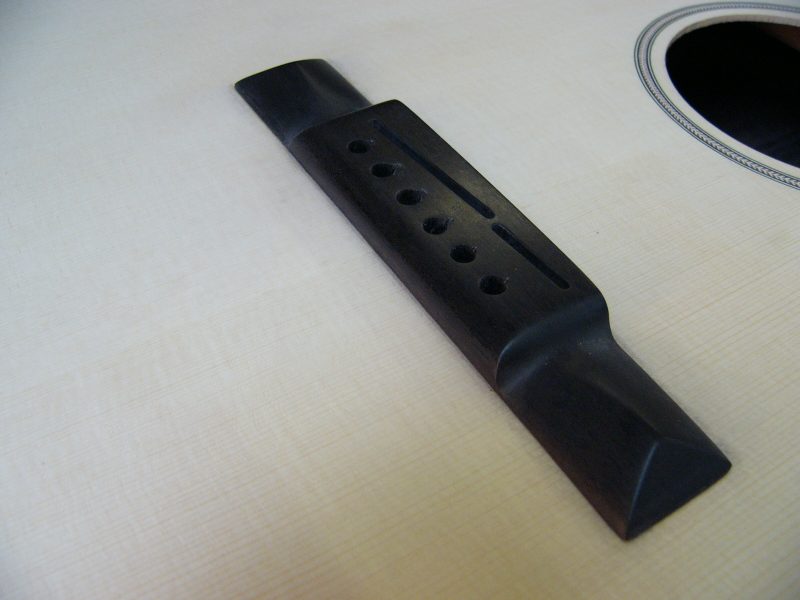
I can now take the bridge down to the required height with the block plane and then drill and rout it for the bridge pins and saddles.
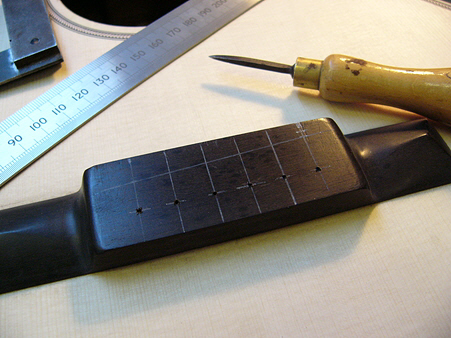
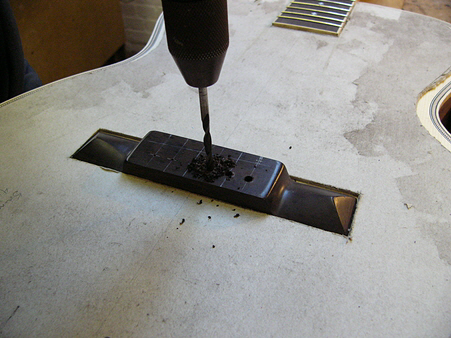
First, using a 1 meter straight edge, the string positions are marked, then the approximate saddle position (to be measured accurately at the trial stringing) and from there the positions for the bridge pins. These are then drilled out with a hand drill and the holes finished with a tapered reamer.
Making An Acoustic Guitar - Page 28
Part 19 - Finishing The Bridge
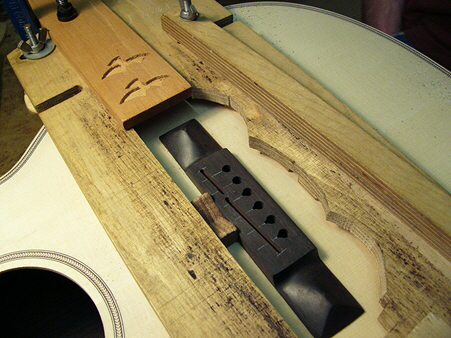
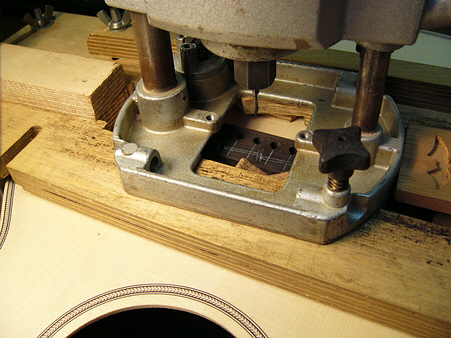
Then, after a trial stringing (more of this later) The final positions for the saddles - correctly intonated for the strings I’ll be using - can be marked and routed. I’m using two saddles to improve intonation. Then I can do some final shaping - softening the edges around the back and sides for the vintage look. It’ll look fantastic when it gets a final burnishing and some linseed oil to bring out the shine.