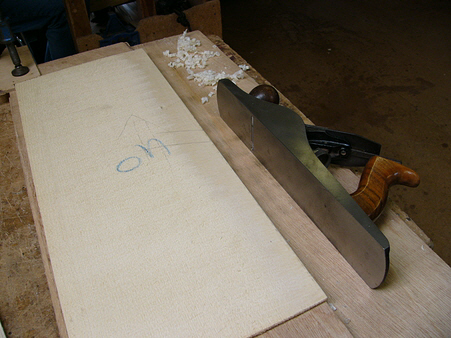
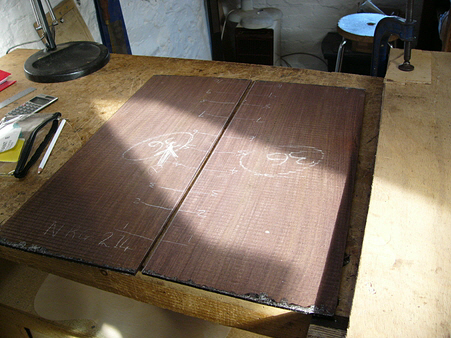
Getting down to the nitty-gritty. The first job is to plane the two edges that will be joined to create my top. This is done using a ‘shooting board’ and a No5 jackplane. The planes at the school have specially ground sole-plates and sides so that a very square edge can be produced. One side is flipped before planing so that any minor discrepancies are cancelled out.
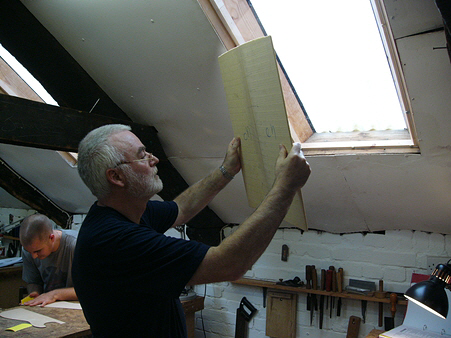
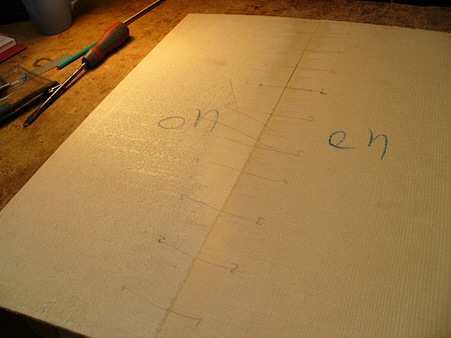
It is important to make sure that material is removed from each side equally to maintain the bookmatching. The two sides are held up to the light and refined until there is a perfect join along the entire edge. This process is called ‘candling’ from the old days when a candle was used as the light source. It’s a pretty damn difficult job to do by hand!
It is important to make sure that material is removed from each side equally to maintain the bookmatching. The two sides are held up to the light and refined until there is a perfect join along the entire edge. This process is called ‘candling’ from the old days when a candle was used as the light source. It’s a pretty damn difficult job to do by hand!
Part 2 - Preparing the Front and Back
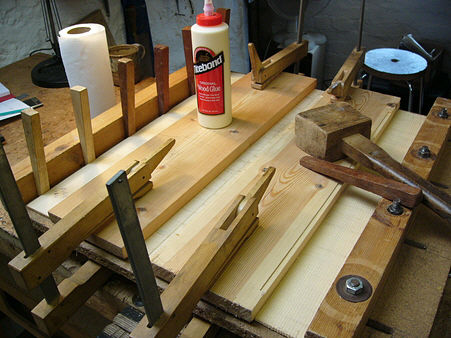
The two edges are then glued and the two pieces are clamped together in a jig. They are held flat by boards and hardwood wedges ensure that the edges are held very firmly together.
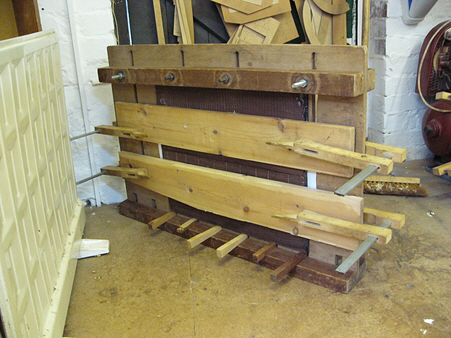
Same again for the rosewood back set. Phew.
Making An Acoustic Guitar - Page 3