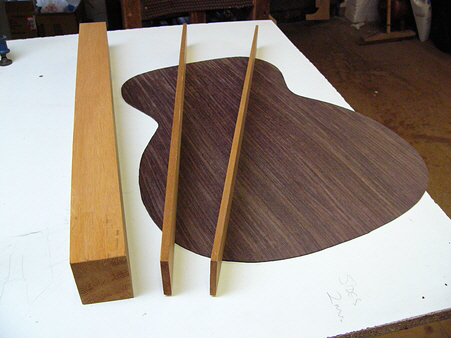
The next major step is preparing the front and back braces and gluing them to the inside surfaces of the top and back. The braces reinforce the guitar and their shape and location play a major part in the tone the guitar will produce. (Better get this bit right then....)
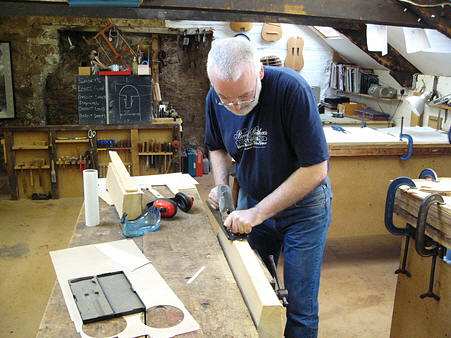
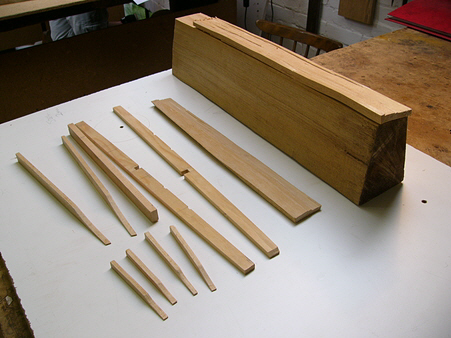
Planing a large piece of spruce for the top braces. Any closer to an actual tree and I’d be out in the forest with a chain-saw and a hard hat. A slice is sawn from the planed slab, squared up and surfaced, and then cut, planed and shaped into the individual braces. The right-hand picture shows the various stages. A similar process will produce the back braces. Again... all done with hand tools.
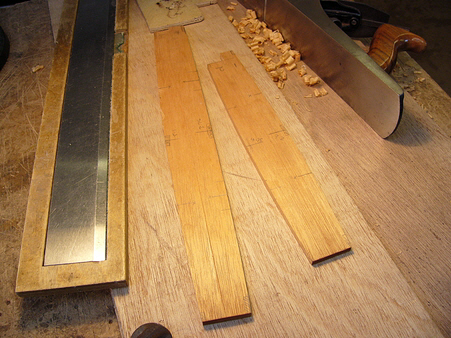
Making the back braces. Two braces are planed from one piece of timber, it’s easier to work that way because it’s wider. First, the pieces are squared up on the shooting board. Next, the braces need to be curved. Although an acoustic guitar top and back look flat, they are actually slightly domed - the top by about 3mm, the back slightly more. This allows the wood to swell and contract with changes in humidity and also imparts much greater strength to the body.
he required curves - different for each individual brace - are plotted on my master drawing (a complex process!) and then transferred to the pieces using plane and shooting board. This is done by eye and is quite a demanding task.
Finally the pieces are sawn down the middle and shot to the required depth.
Making An Acoustic Guitar - Page 9
Part 7 - Preparing the Braces