Making An Acoustic Guitar - Page 18
With assembly rapidly approaching, I need to make some linings which will reinforce the joins between the sides and the top and back of the guitar.
Taking some strips of cedrela (aka Spanish cedar), and using the shooting board, I’ll square them up, shoot the ‘tentellone’ angle (the slight angle between the linings and the top and bottom to cater for the curves in the top and back) and then plane them to size and bevel one edge.
Part 13 - Carving the Heel - continued
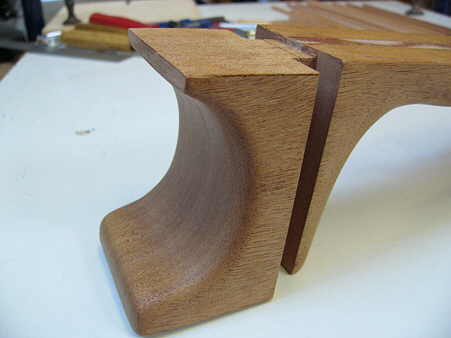
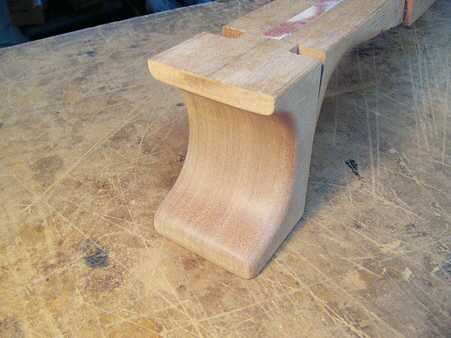
Next, I need to remove some material from the end of the neck. This part of the job isn’t structural, just cosmetic as the slipper heel is visible inside the guitar.
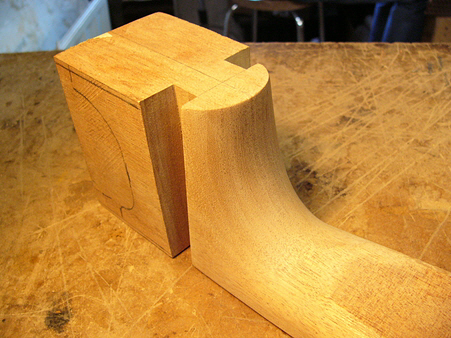
After sketching a rough design on the sides of the heel I can remove the bulk of the material with a coping saw and then have at it with rasp and sandpaper.
It’s worth taking some time here as I’ll be seeing this every time I look into the soundhole.
The final operation on the heel at this stage is to rebate the gluing surface on the top face (see bottom right) to accept the guitar’s front.
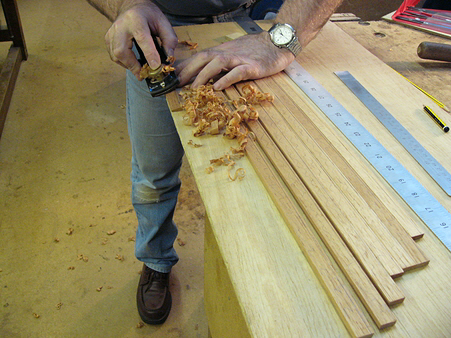
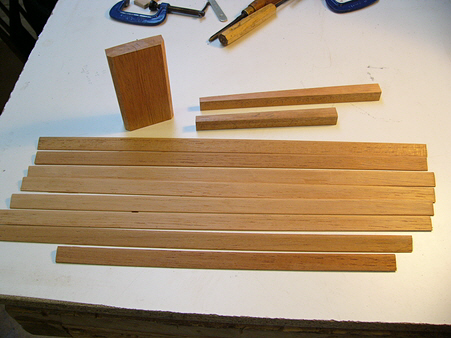
Looking a bit like slats from a venetian blind, the linings will be kerfed (slotted along their length) so they can be bent to the contours of the body. Also in the last pic, I’ve prepared the two hardwood wedges and the end block which the two sides will be glued to at the bottom of the guitar. This has been gently radiused (a 3mm curve over 65mm) and I’ve also chamfered the opposite side (to remind me which is the curved side when I’m gluing it into the guitar!) and planed a tentellone angle into one end ready to accept the top.