Part 16 - Preparing The Fingerboard
Making An Acoustic Guitar - Page 24
With the neck now attached to the body it’s time to prapare the fingerboard, cut the fret slots and glue the board into position.
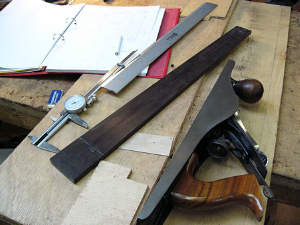
First, I’ll square up a blank piece of ebony, plane it down to approximate thickness, then cut it to size. (In fact, I’ll do it twice: the first piece I cut down to the wrong size -D’oh!)
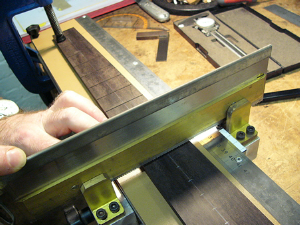
Next, it’s fitted to a wonderful device designed and produced in the UK with a vernier scale that permits very acurate cutting of the fret slots. As a safety measure I’ve also marked out the slot positions by hand as a double-check.
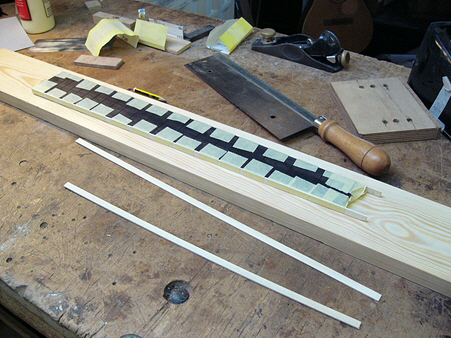
Next, the board is removed from the slotting jig and the underside planed very flat for a good gluing surface. Then, as I’m going for a bound fingerboard, pieces of holly binding (slightly thinner than the body binding) are glued to the sides and the end of the board.
Next, the fingerboard is accurately placed on the neck in a dry run, some small holes drilled through some of the fret slots into the neck to take some ‘high-tech fingerboard placement pins’ (cocktail sticks). The cocktail sticks will ensure that the fingerboard won’t move on the bed of glue during gluing.
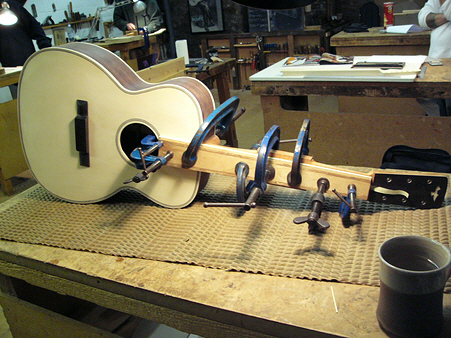
And finally, with a suitable caul to evenly distribute the pressure the fingerboard is glued to the neck and clamped overnight.
With the fingerboard safely in place the next job is to give it some radius. This is done in stages, first in quarters, then eights, then as a complete curve across the neck. I’m using a nine-inch radius - quite a curve for an acoustic guitar but it suits me as I grew up with Stratocasters and Les Pauls. After that some relief (a slight bow) is planed into the neck with a sanding block for the lower strings, 0.05mm for the ‘G’ and ‘D’ strings and 0.10mm for the ‘A’ and ‘E’ strings - checked with feeler gauges. The relief is necessary to allow for the greater vibration envelope of the lower strings.