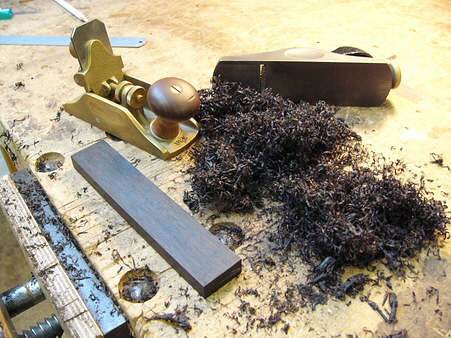
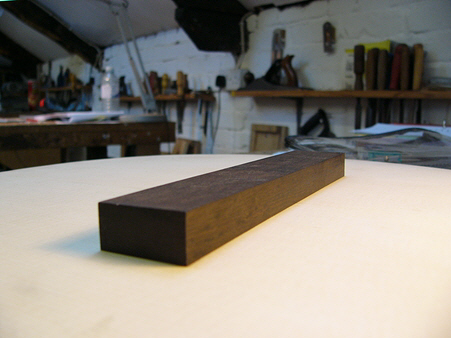
Time to start on the bridge. I’m using ebony and the first job is to work a blank piece down to size using the block plane and then a scraper plane. After that comes the long and laborious process of working a subtle curve into the underside to fit the curve of the guitar’s top. It’s important to get this right because the two gluing surfaces need the maximum contact and it also needs to look right, with a nice crisp edge at the join.
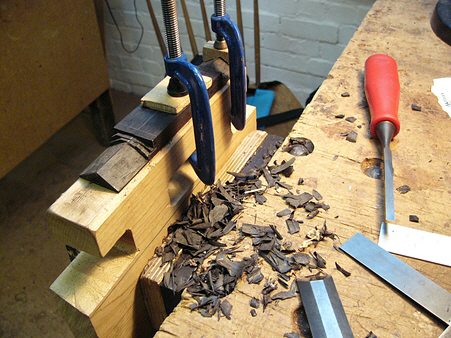
I’m going for a traditional pyramid bridge design, inspired by a beautiful old early 20th century parlor guitar that’s in the shop for some repairs. The next step is to mark out my design on the blank and then get busy with the chisels.
Part 9 - Making The Bridge
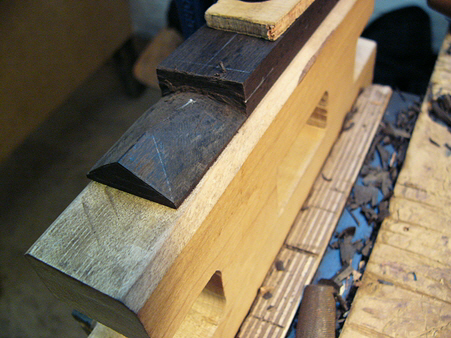
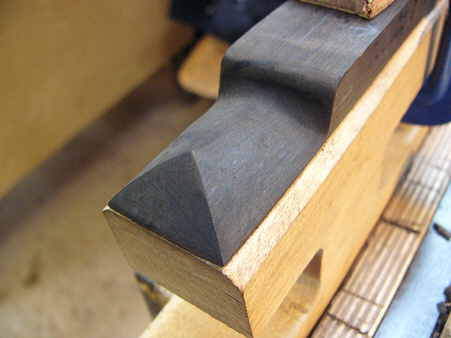
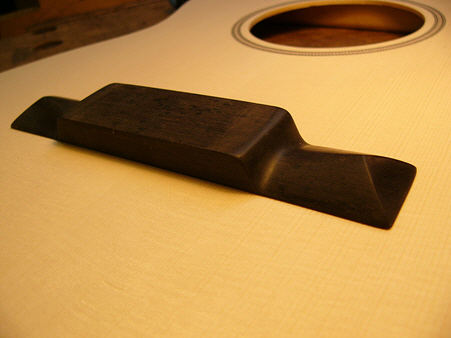
Getting closer - now it needs some work with the sandpaper to a stage where it’s ready for gluing. The final shaping of the centre section and drilling and routing for the bridge pins and saddle happen later.
Making An Acoustic Guitar - Page 12