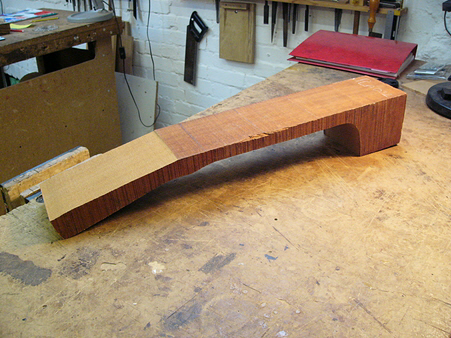
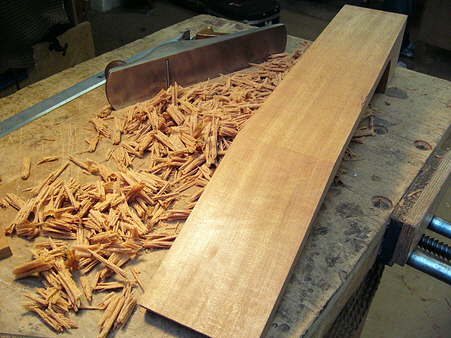
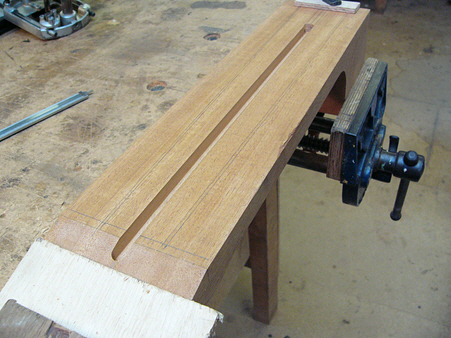
Time to start on the neck. Here we do use some automation, firstly by band-sawing a large block of mahogany down to a manageable size. After planing all the surfaces flat the first task is to mark out and plane the top and headstock surfaces. These need to be very flat and true as they will be the gluing surfaces for the headstock veneer and the fingerboard. It’s amazing what you can do with a plane, a try-square and a straight edge with a bit of practice! I’m going for a 15 degree headstock angle.
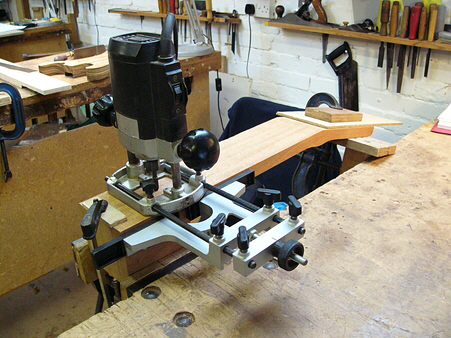
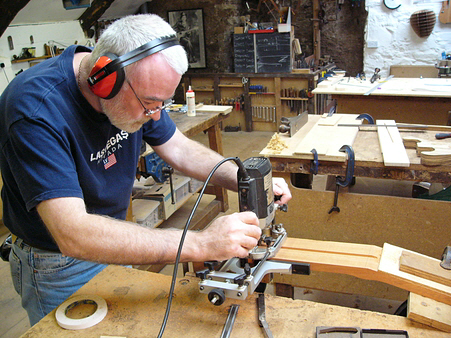
When the surfaces are true it’s time to rout for the truss-rod. Again, this is a job for a machine - carving the channel by hand is just too time-consuming (and difficult!). After some careful marking out, the router is set up with a guide-fence and it’s simply a matter of a few passes until the channel is at the correct depth. Easy-peasy.
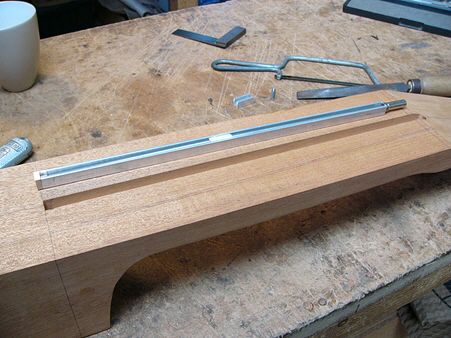
The last pic shows the truss-rod prior to installation. The truss-rod is a bought-in item but at the school we modify them by cutting the parts to length and making a curved hardwood insert which runs the length of the aluminium channel and replaces the basic metal insert. The insert forces a curve into the threaded rod which, when tightened, works against the pull of the strings so that the correct amount of relief can be set in the the neck. A couple of shims are also added to prevent rattle.
The last pic shows the truss-
Making An Acoustic Guitar - Page 14
Part 11 - The Neck